The Real Reason Your Knee Hurts When You Squat (And It's Probably Not What Your Doctor Said)
Discover why you have knee pain when squatting, which is different than what your doctor may have said. Identify the 3-step system to eliminate it. Learn to identify your body's cheat patterns and return to pain-free workouts.
Bonus resource:
You're doing everything "right"...you're working out, staying active, being the healthy role model your family needs. But lately, every time you squat, your knee reminds you it's not happy.
So you stop squatting. You avoid leg workouts. You tell yourself it's just part of getting older at 40, 50, or 60.
Here's what I want you to know: Your knee pain when squatting isn't a sign you're broken. It's a message from your body.
That message? Your body is moving in a pattern it learned to survive but that pattern is stressing your knee instead of protecting it.
I call these "cheat patterns," and they're way more common than you'd think. In fact, I'd say 8 out of 10 people I work with who have knee pain when squatting have at least one of these patterns active.
The good news is this: Once you identify your specific cheat pattern, you can fix it. And when you fix it, something remarkable happens—you get your life back.
This guide won't help everyone. If you're training for a triathlon and need sport-specific squat mechanics, you need a different resource. If your knee pain is from a recent ACL tear or fresh surgery, hold off and work with your rehab team first.
But this is perfect for you if:
- You're over 40 and you want to stay active and strong
- You're a parent who works out because it's your stress relief and sanity saver
- You're tired of modifying exercises or sitting out at fitness classes
- You miss hiking with your family, playing with your kids, or just feeling capable in your own body
- You've been told it's "arthritis" or "just part of aging"—but something tells you there's more to it
If that's you, keep reading.
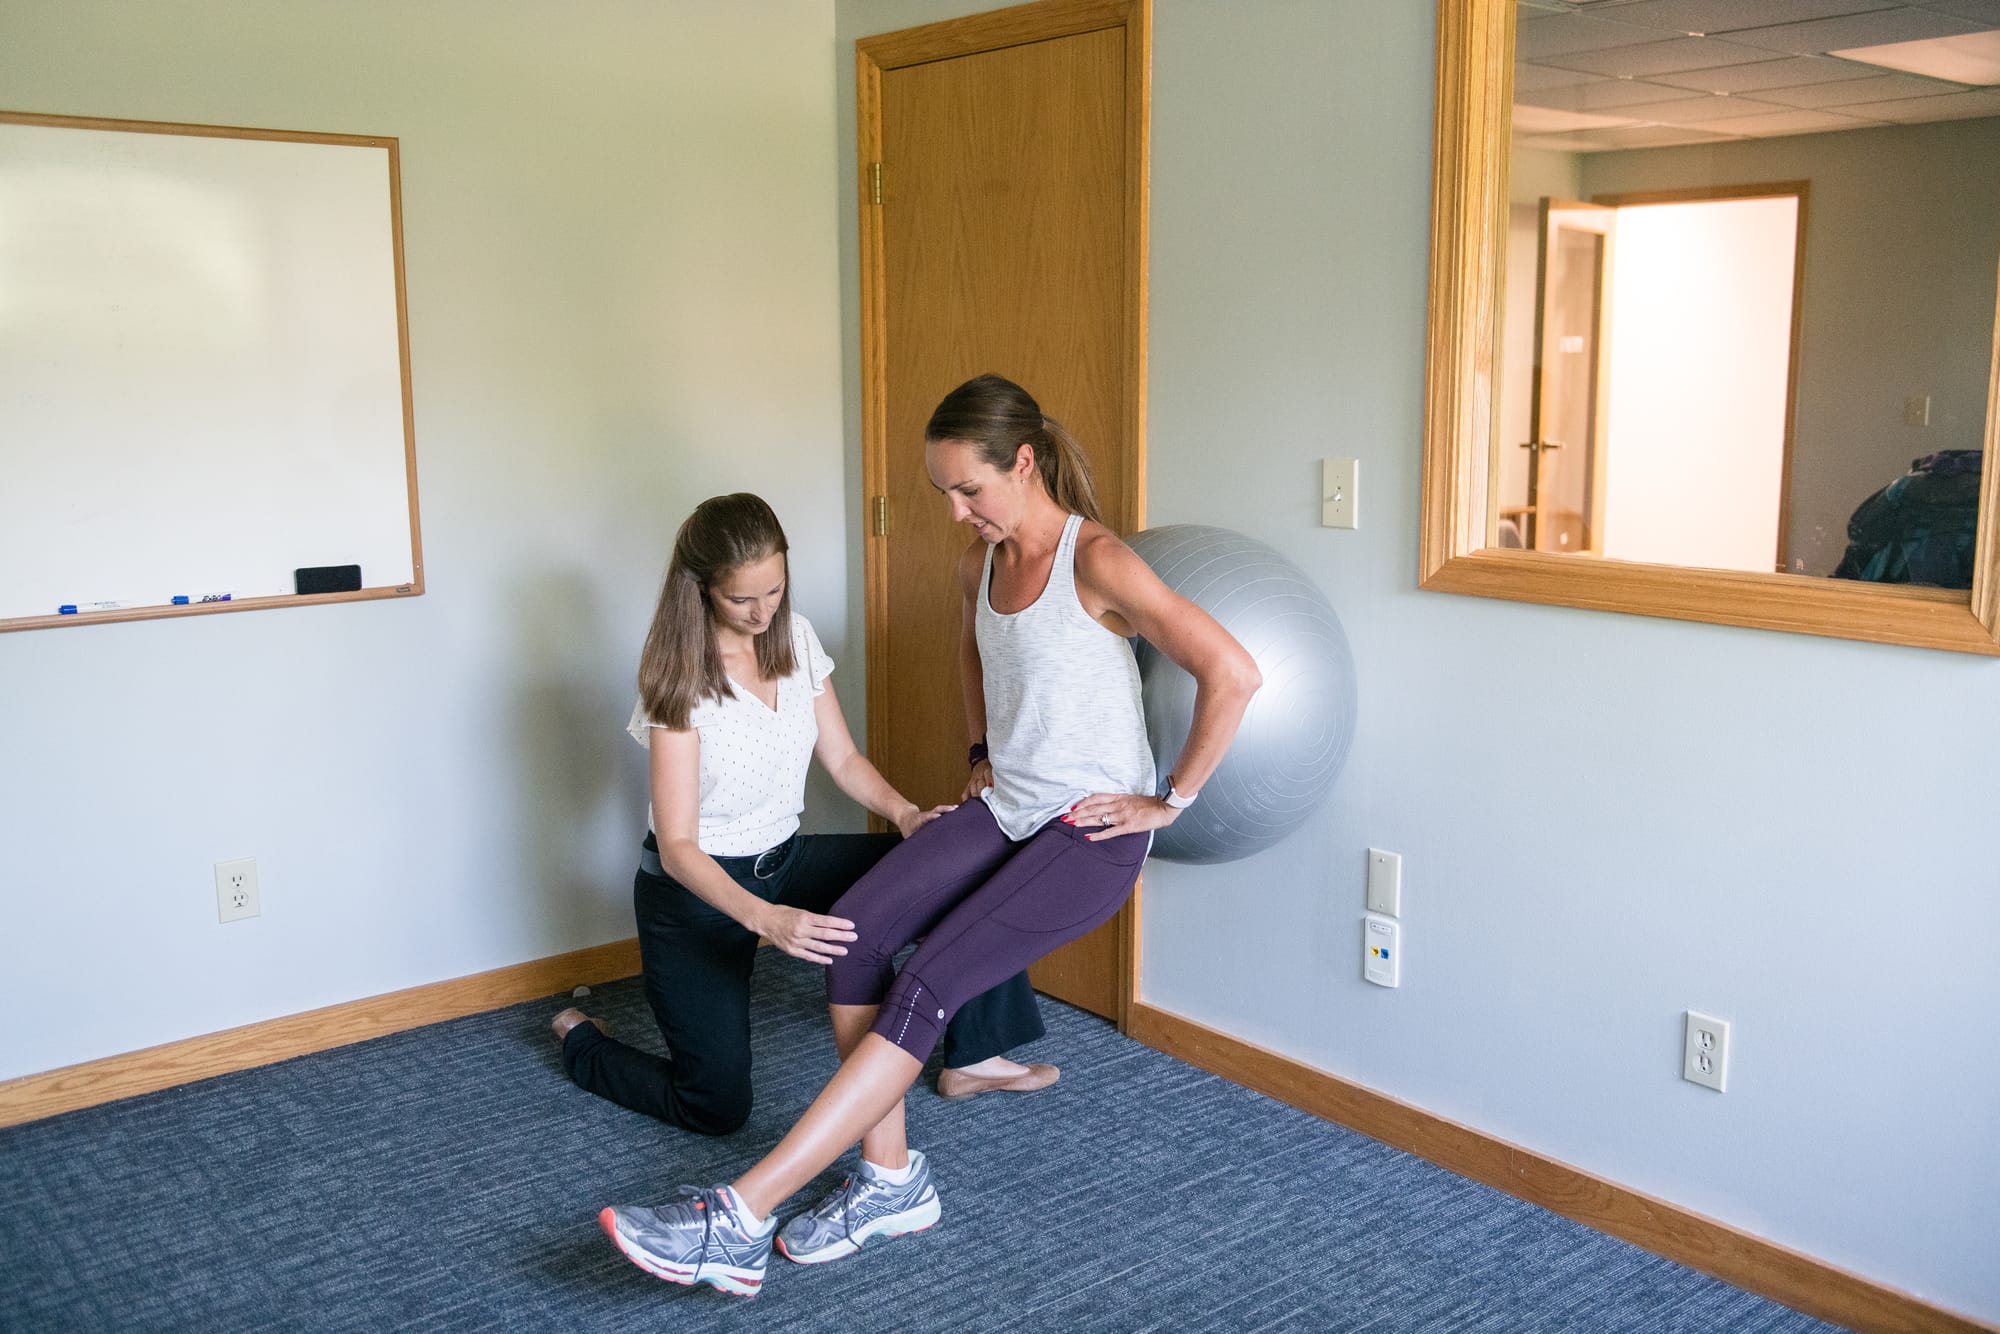
I worked with Sarah, a 49 year old mom who came to me frustrated. She had sharp pain on the outside of her knee and near the front especially when squatting and going down stairs. Her doctor called it patellofemoral pain syndrome. But what I found was different.
Sarah had cheat patterns her body had picked up over years of ankle sprains, past injuries, and movement limitations. These patterns had become her "normal," but they were stressing her knee instead of protecting it.
In less than 45 days of addressing these specific patterns, Sarah was back to working out pain-free. Two months later, she was hiking on her dream trip out west.
That same systematic approach: identifying where the cheat pattern lives and fixing it, is exactly what I'm going to walk you through in this guide.
If you want to get back to squatting, exercising, and moving your body without worrying about your knee, this is the exact method to do it.
Bonus Tool: The Cheat Pattern Checklist for Squats
Before you read further, download the Cheat Pattern Checklist. This tool helps you identify exactly which cheat patterns YOUR body is using when you squat so you can build your personalized fix.
This checklist walks you through:
- Simple self-tests to identify your specific cheat patterns
- Where to feel for movement restrictions
- A visual guide showing common compensation patterns
- Space to track your progress as you improve
Download it now, print it out, and follow along with the guide below. (We'll reference it throughout.)
Since this is a comprehensive guide, here is what to expect as you read:
Table of Contents:
- Who This Guide Is For (And Who It's Not)
- The First Step: Identify Your Cheat Pattern
- The Second Step: Restore Mobility to Your Stiff Joints
- The Third Step: Strengthen the Muscles That Stabilize Your Knee
- The Fourth Step: Rebuild Your Squat Capacity
- What Your Cheat Pattern Really Means
UNDERSTANDING YOUR KNEE PAIN WHEN SQUATTING
Before we talk about fixing the problem, let's talk about why the problem exists in the first place.
Your knee is a joint that depends on the joints above it (your hip and ankle) and the muscles around it to work properly. When your hip doesn't move well, or your ankle is stiff, or your muscles are weak your knee has to compensate. It has to cheat.
Over time, these compensations become automatic. Your body remembers them, locks them in, and uses them every single time you squat. Even though these cheat patterns were originally designed to help you move around a limitation over years, they stress your knee instead of protecting it.
That's where knee pain comes from.
But here's the important part: Your pain is not your problem. Your pain is a symptom of the problem.
The problem is the cheat pattern itself.
Fix the pattern, and the pain usually goes away.
THE THREE-STEP SYSTEM
STEP 1: IDENTIFY YOUR CHEAT PATTERN
(What is the problem?)
The first thing we need to do is understand what's actually happening when you squat. There are three places your body can cheat:
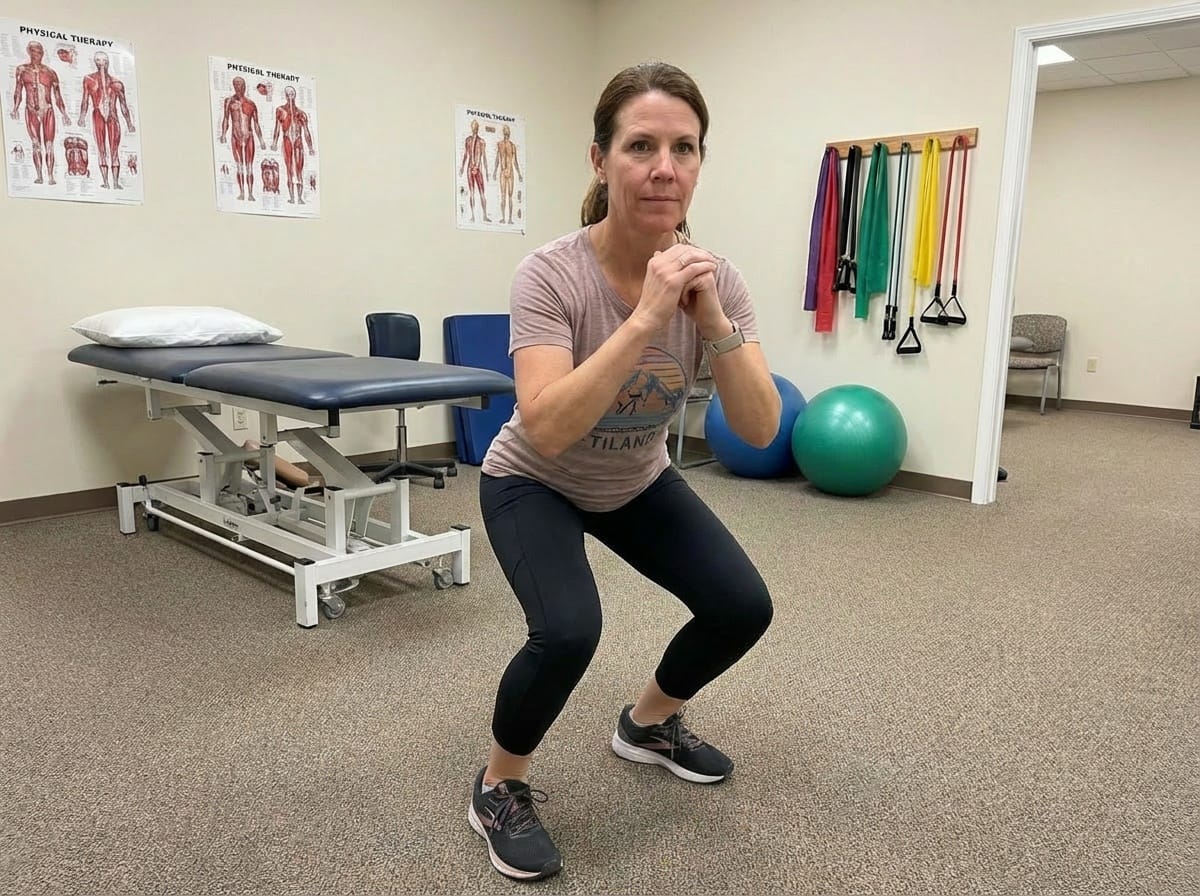
Your Knee Some people's knees cave inward when they squat (called valgus collapse). Others shift their weight to one side. Others have their knees track in front of their toes instead of over them. These are knee level cheat patterns.
Your Ankle If your ankle is stiff or doesn't have enough motion to control your descent, your body compensates. You might shift your weight to the outside of your foot, or lean forward more than you should. Ankle restrictions are one of the most common culprits and many people never realize it's their ankle causing the knee pain.
Your Hip Hip weakness (especially in the outer hip muscles) or hip stiffness causes your leg to rotate inward unnaturally when you squat. This puts your tibia (shin bone) in a position where it doesn't internally rotate like it should, causing pressure on the inside of your knee joint line which is the exact place many people feel pain.
Your First Action: Take that Cheat Pattern Checklist we gave you above and work through each self-test. Pay attention to:
- Where does your pain start during the squat? (At the bottom? Halfway down? Coming back up?)
- Where exactly do you feel it? (Front of knee, outside, inside, back?)
- Which part of your body is cheating? (Your knee, ankle, or hip?)
This information is gold. It tells you where to focus your effort.
STEP 2: RESTORE MOBILITY TO YOUR STIFF JOINTS
(Why you need to address this before strengthening)
Here's a mistake most people make: They try to strengthen their way out of knee pain.
But you can't strengthen your way out of a stiffness problem. If your ankle can't move properly, or your hip is tight, all the quad exercises in the world won't fix your knee pain. You'd just be making a movement pattern stronger—while the pattern itself is still wrong.
This is why we start with mobility.
Mobility means giving your joints the freedom to move the way they're designed to move. Once your joints have that freedom, your muscles can do their job properly.
Start in sitting. Then progress to standing.
Most people are stiff in multiple places. We start with sitting stretches because they're easier to control and you can feel exactly what you're stretching. Once your body has adapted to sitting positions, we progress to standing stretches, which require more balance and stability.
Examples of where to start:
- Ankle mobility: Sitting calf stretches (holding the stretch, allowing your ankle to relax into a deeper range)
- Hip flexibility: Sitting figure-4 stretch (one ankle crossed over the opposite knee, gently folding forward)
- Quad length: Low lunge position, gently pressing your hip forward
The key word here is gently. This isn't about forcing yourself deeper. It's about creating space and teaching your joint it's safe to move.
You're not trying to become a gymnast. You're trying to restore normal motion.
Do these mobility work daily, ideally morning and evening.
Consistency matters more than intensity here.
STEP 3: STRENGTHEN THE MUSCLES THAT STABILIZE YOUR KNEE (Building the foundation)
Once your joints have more freedom, we can build strength—specifically in the muscles that protect and stabilize your knee.
The three main areas to focus on:
1. Outer Hip Muscles (Glute Medius & Minimus) These are the muscles that keep your femur (thighbone) from rotating inward and your knee from caving inward. When these are weak, your knee compensates.
Exercise example: Clamshells, sidelying leg lifts, resistance band lateral walks. These should feel like they're working the outer hip/upper glute area, not your lower back.
2. Quadriceps Your quads are the shock absorbers of your knee. Strong quads mean your knee has more protection when you load it.
The vastus medialis obliquus (the inner quad muscle) helps with knee stability. It activates when your knee is slightly bent, which is exactly what happens in a squat.
Exercise example: Wall sits (starting in a comfortable range, not forcing depth), short arc quads, isometric holds in comfortable squat depths.
3. Lower Leg Muscles (Calves, Tibialis Anterior) Your calf muscles and the muscles on the front of your shin control how your ankle moves as you squat. Strengthen them and your ankle can control the descent better, which means your knee doesn't have to compensate.
Exercise example: Calf raises, resistance band ankle plantarflexion and dorsiflexion.
Minimum frequency: 3 times per week.
These muscles need consistent stimulus to get stronger. Less than 3x per week, and you're not building the capacity you need. More than 5x per week on the same movements, and you're not giving yourself recovery time.
Three times a week is the sweet spot for building real, lasting strength.
STEP 4: REBUILD YOUR SQUAT CAPACITY
(Bringing it all together)
Now comes the part most people want to skip to: Actually squatting again.
But here's what's crucial: You start in a pain-free range of motion.
This might feel like a cop out solution. "I came here to squat deep again, not to squat halfway."
But here's what actually happens:
When you squat in a range where your knee is already strong enough to handle the load, you're not just squatting, you're building neurological confidence and strength in that range. Your quad gets stronger in that specific angle. Your nervous system learns "this is safe."
Once your knee is strong in that range, it can tolerate bending further.
Many people start with only a 45-degree knee bend. That feels shallow. But in those few degrees, you're building real quad strength without triggering pain. After 2-3 weeks, the range improves. A few weeks after that, it improves again.
By week 8-12, many people are squatting 10-15 degrees deeper than when they started, all because they built strength methodically instead of forcing it.
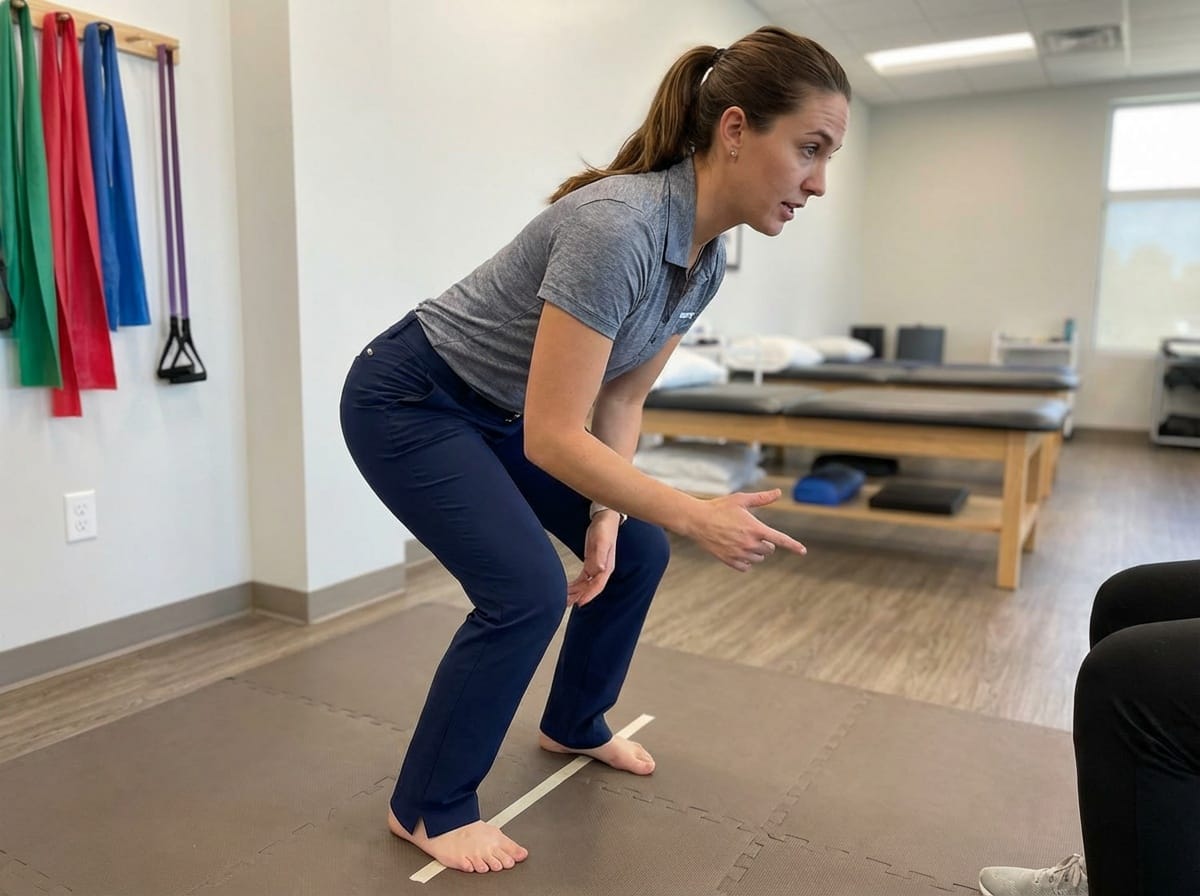
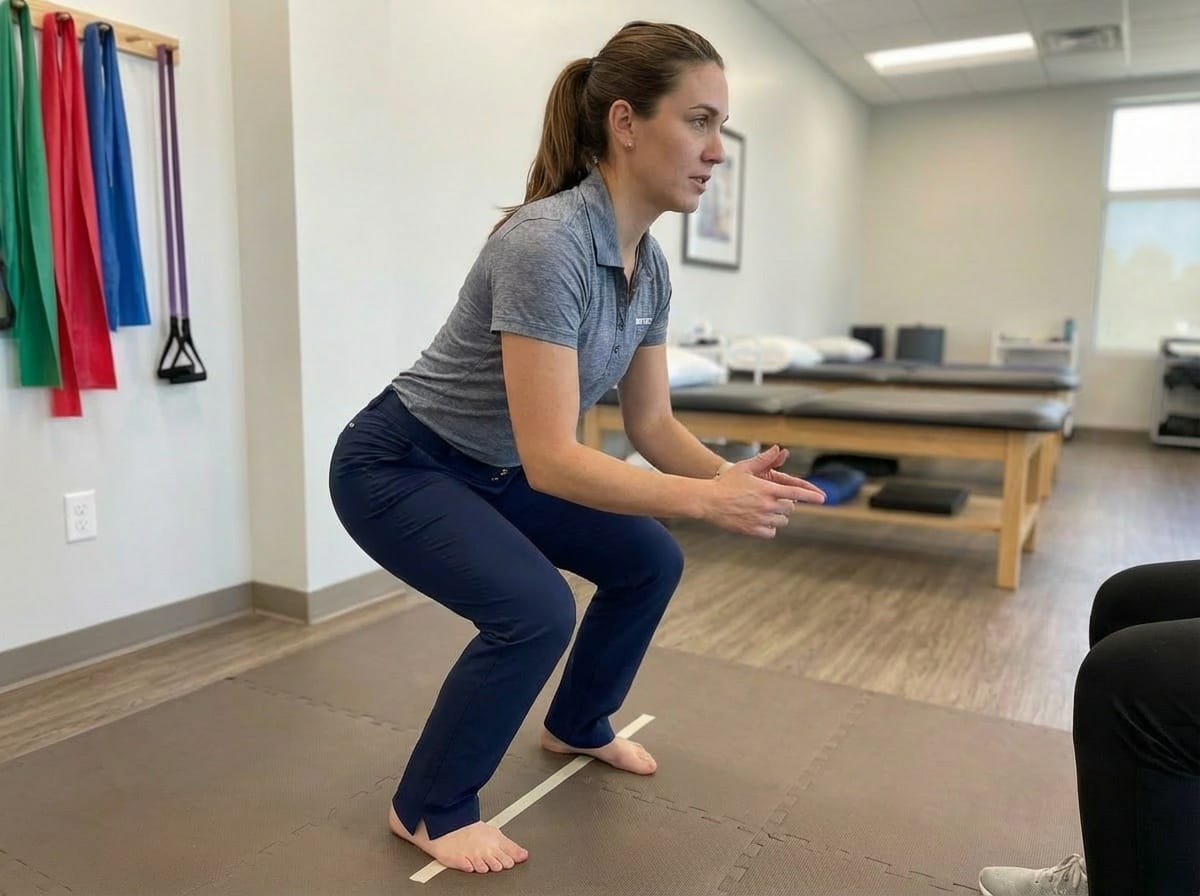
How to know your pain-free range: Do a squat slowly. Notice when your knee pain starts. Stop just before that point. That's your pain free range.
Practice squats in that range with good form (keeping your weight centered, knees tracking properly, using the mobility and strength work you've been doing).
Heel elevation helps here.
If you're struggling to maintain good form even in your pain free range, elevating your heels can help. This takes some demand off your ankle mobility and allows you to focus on the squat motion itself.
You can use:
- Slant board: The gold standard. It removes ankle stiffness from the equation entirely, letting you focus purely on quad strength and squat mechanics.
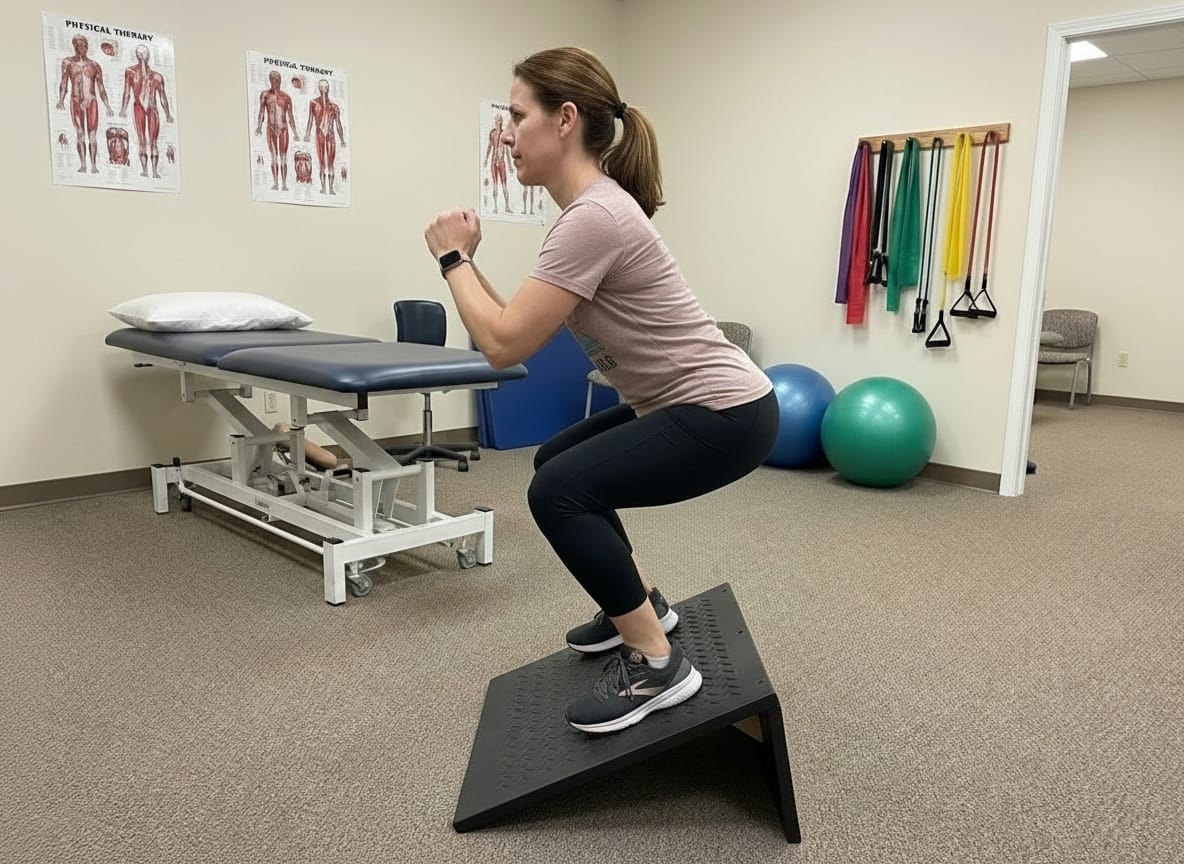
- Swiss ball or wall lean: Place ball between your back and the wall and lean in to allow more weight to go backward rather than directly on your knee
The slant board is my preferred method for most people because it completely takes ankle stiffness out of the equation. You're left with pure squat mechanics, which is what you want to work on.
Slow, controlled descent.
As you squat, take 3-4 seconds to come down (eccentric phase). This builds eccentric strength in your quad which is the strength that protects your knee when you're standing up or putting weight through your leg.
Many people rush down and snap back up. That's leaving strength gains on the table.
Slow it down. Control the descent. Your quad will get noticeably stronger in 2-3 weeks of this alone.
Progressive loading over time.
Once you're comfortable in your pain-free range, only then do you think about adding weight. Start light with a kettlebell or light dumbbell. The goal isn't to lift heavy, it's to gradually increase the demand on your knee in a range where it's strong enough to handle it.
Over weeks, you add a bit more weight. Over weeks, you gradually increase your range. This is how you actually build squat capacity that lasts.
What Your Cheat Pattern Really Reveals that most people don't realize:
Your specific cheat pattern is information. It's telling you something about how your body is built, how it moves, and what it needs.
If your cheat pattern is ankle related (your ankle is stiff and can't control the squat descent), that ankle stiffness didn't just appear. It's likely been there for years, maybe from an old ankle sprain you forgot about, or from years of wearing shoes that don't let your ankle move naturally.
If your cheat pattern is hip related (weak outer hip muscles causing your femur to rotate inward), your hip weakness probably shows up in other places too. Day after day I hear about how your knee hurts going down stairs, or you feel unstable on one leg, or you can't walk as far as you used to without your hip getting tired.
If your cheat pattern is knee-specific, it often traces back to how the joints above and below are moving.
The point is: Your cheat pattern is a symptom of something deeper.
You can fix the cheat pattern. You can do the mobility work. You can do the strength work. You can get back to squatting and many people do, with the system in this article.
But there's a question that comes next: What specifically caused YOUR cheat patterns? Is it residual from an old injury? Is it how your body naturally moves? Is it something you picked up from years of compensation?
And more importantly: How do you know you're addressing the actual root cause, not just the symptom?
That's where the next step comes in.
THE NEXT STEP
The system in this article works. You can take these four steps, do the work, and most likely your knee pain will improve significantly.
But the fastest path forward—the one where you don't waste time on the wrong fixes—is understanding what YOUR body specifically needs.
That's why I created the 3-Step Forward Newsletter.
Over the next week, I'll send you:
Ankle help: the #1 exercise my clients have said give them the fastest change and is their favorite to actually do
Life help: A habit to layer into your day. Real people don't have time for hour long rehab sessions. So we focus on one small habit that takes 5 minutes and creates cumulative changes over weeks. Think 1% better each day.
Body Talk: A lesson about body physiology—why your ankle stiffness led to knee pain, or how hip weakness creates that specific knee pain location you're experiencing. Understanding the "why" helps you stay consistent with the fixes.
Enter your email below to get the 3-Step Forward newsletter—your strategy starts tomorrow.
FAQ: YOUR QUESTIONS ANSWERED
Q: Is my knee pain arthritis? A: Maybe, maybe not.
What we know is this: Many people over 40 are told they have arthritis when they actually have cheat patterns. Even if you do have arthritis, addressing your movement patterns usually reduces pain significantly. Start with the system in this article. See what changes. If nothing changes after 4-6 weeks of consistent work, that's different information than you have now.
Q: Can I still work out while doing this? A: Yes. You're not stopping exercise you're just modifying how you squat while you build the capacity to do it better. Other exercises (like upper body work, different leg angles, cardio that doesn't trigger the pain) are fine. You're training around the issue, not stopping everything.
Q: How long until I notice a difference? A: Most people notice reduced pain within 2-3 weeks of consistent mobility and strength work. Your pain free range usually improves within 4 weeks. By 6-8 weeks, most people are squatting noticeably deeper without pain. The timeline depends on how long the pattern has been there and how consistent you are with the work.
Q: Should I see a physical therapist? A: If your pain is severe, or if you've tried this system for 6 weeks with no improvement, seeing a PT is worth it. A good PT can do a detailed movement assessment and might catch something specific about your body that needs more targeted work. But many people solve this themselves with the systematic approach here.
Q: What if the pain is on the inside of my knee? A: Inside knee pain when squatting often comes from hip weakness or tibia rotation issues. This is actually common and very fixable. The strength work (especially outer hip and quad strength) usually addresses this. The slant board is particularly helpful for inside knee pain.
YOUR INVITATION
You've been avoiding squats. You've been modifying workouts. You've been watching others do things you used to do easily.
That doesn't have to be your reality.
Your knee pain when squatting isn't a permanent condition. It's a movement pattern that can be fixed.
Start with the Cheat Pattern Checklist (find it at the top of the page). Identify where your body is cheating. Follow the four step system.
Then sign up for the 3-Step Forward Newsletter to start your strategy.
Your body is capable of so much more than you're currently asking it to do.
Let's prove that.